The Mac my dad gave me.The one I'm learning to bring back.
My dad bought me technology because he wanted me to have a great education and early access to computers. The original Macintosh Classic is gone. This one cannot replace it, but repairing it lets me revisit that gift in a practical way.
“My dad bought me technology. He wanted me to have a great education and access to computers from an early age—I thank him for this, greatly.”
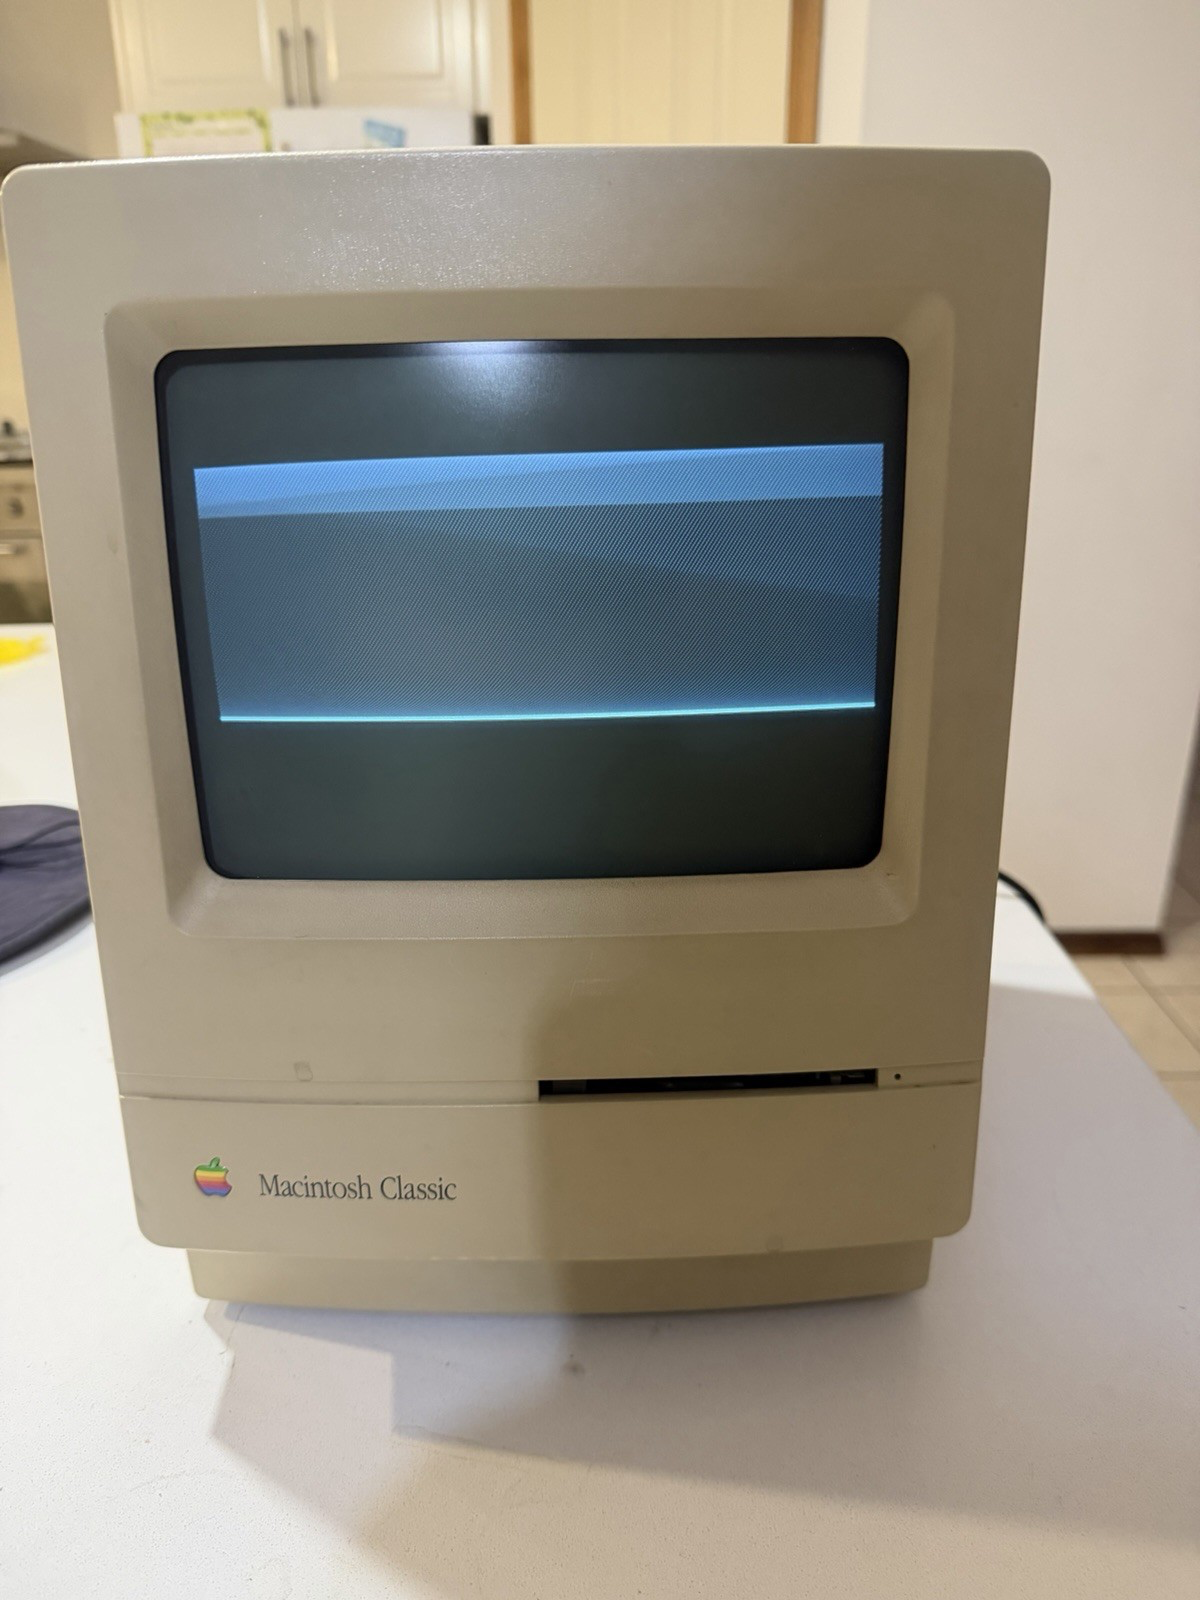
01 / the listingScreen collapse, a remarkably good case, and enough of a pulse to begin.
HK1991-ish
how the right machine emerged
It started with an SE/30. Then memory got more precise.
I first bought two SE/30s with a simple idea: keep a compact Mac on my desk, use it, and reconnect with the machines around my early education. One of them now boots happily. But as I pieced the family story together, I realised the computer Dad bought while we lived in Hong Kong was a Macintosh Classic.
That changed the project. A good-looking but faulty Classic in Adelaide stopped being another restoration candidate and became the Dad Mac.
The SE/30 that proved an old Mac could become an everyday object again.
the method / condensed
A restoration, reduced to four verbs.
There are dozens of photos, parts lists and bench notes behind this. The useful version is simpler.
01Find
Make it the right machine
The project became specific when I worked out that Dad's Hong Kong Mac was a Macintosh Classic—not the SE/30 I first remembered it as.
02Record
Photograph before touching
Every connector, board and questionable pad gets documented. Good restoration starts with being able to retrace your own hands.
03Understand
Follow the circuit, not the guess
Schematics, meter readings and help from the compact-Mac community matter more than confidence. C4 taught me that very directly.
04Use
Return it to ordinary life
The goal is not a sealed display piece. I want it on the desk, booting old software, making things and being touched.
from the bench / June–July 2026
Not a makeover. A sequence of small, checkable decisions.
02 / before
First, make it safe.
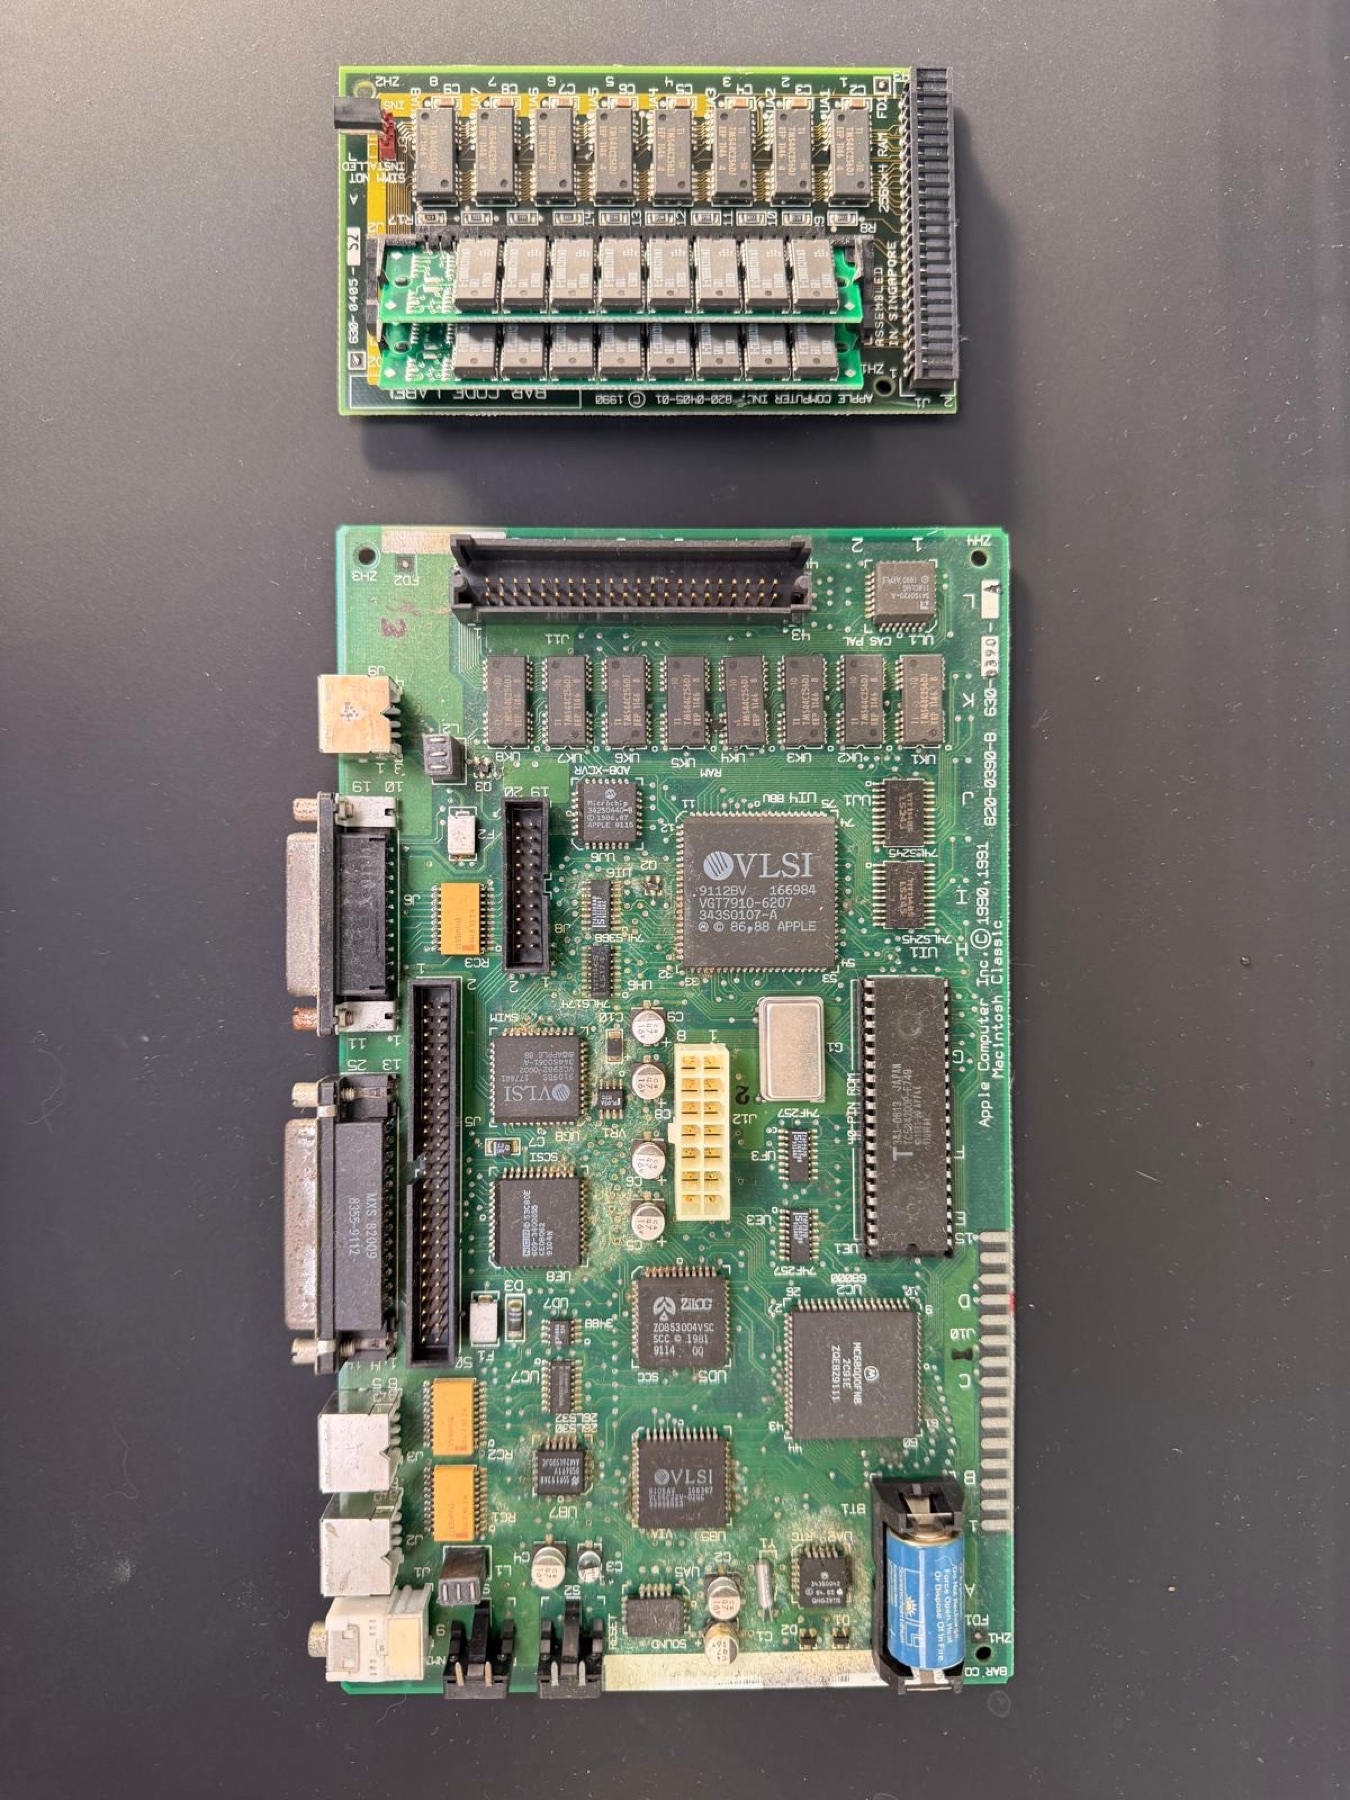
Open the case, discharge carefully, photograph everything and remove the old PRAM battery. Then inspect the logic board for the residue and damage left by ageing electrolytic capacitors.
No power-on heroics. Evidence first.
03 / first replacements
Learn where the board is fragile.
The old surface-mount capacitors came off, the board was cleaned, and replacements went on in small groups. A lifted C2 pad needed a 30AWG jumper to ground. Weak C3 pads needed patience rather than force.
At C4, my first assumption was wrong. Tracing the schematic and checking it with the 68kMLA community showed the pad belonged to the C72/L10 node—not ground. The correction is part of the story.
04 / logic board
Complete is not the same as finished.
By 2 July, every planned logic-board capacitor was physically in place. That is a milestone, not a victory lap: continuity checks, cleanup and system-level testing still matter.
board
820-0390-B
status
logic-board recap installed
next
verify, service analog board, diagnose display
05 / the next layer — analog board out, diagnosis still ahead
the finish line
Not a shelf. A desk.
I want to switch it on, hear the drive sounds, use System 7, make something small in HyperCard and understand a little more of what is happening underneath. The point is not to preserve a decade under glass. It is to keep the curiosity Dad paid for tangible.
restoration ongoingbench notes through 3 July 2026